Cursive Alphabet: Letter R Worksheet
Cursive R
The cursive letter r is the 18th number in the English alphabet. It has a unique shape that makes it easy to connect with other Cursive letters. Words like “rain,” “run,” and “river” are excellent examples for practicing this letter. Mastering the cursive “r” helps improve your handwriting flow.
Previous Lesson: Cursive Q
Download Free Printable Cursive R Worksheet
You can easily download our free printable cursive worksheet for the letter “R.” It includes sections for tracing and writing, making learning simple and fun.
Next Lesson: Cursive S
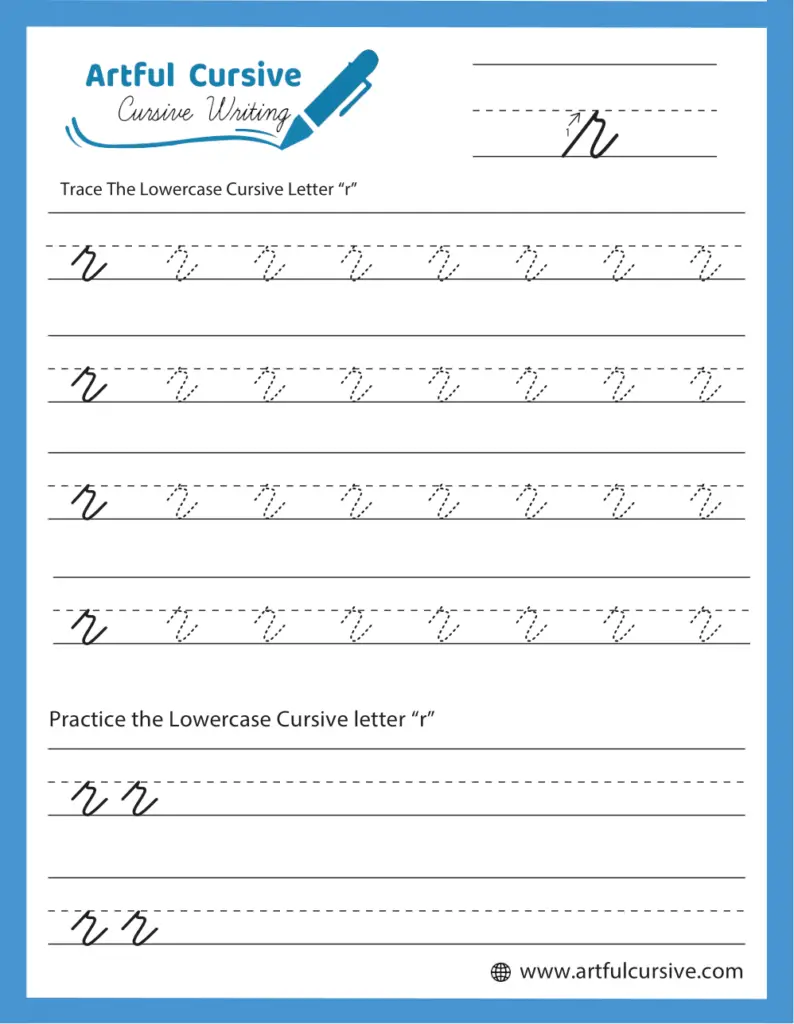
How to Write Cursive R
To begin cursive r, make a short flick upwards at the baseline of the letter. Then, make a small loop at the upper part and back to the baseline in the shape of a small arch. The last stroke should join the starting stroke of the next letter. Try to take time to practice every inch of every step to maintain balance. Writing the cursive “r” is easier with steady movements and a light hand.
How to Connect Lowercase Cursive Letter R
At the end of the cursive R, it continues to connect easily and consistently with the preceding letters. For example, the lower loop forms sound connections with Cursive e, Cursive i, and Cursive o. For instance, it can be seen in these contexts in words such as “rose” or “rain.” So, training such connections will let you write faster and more confidently.
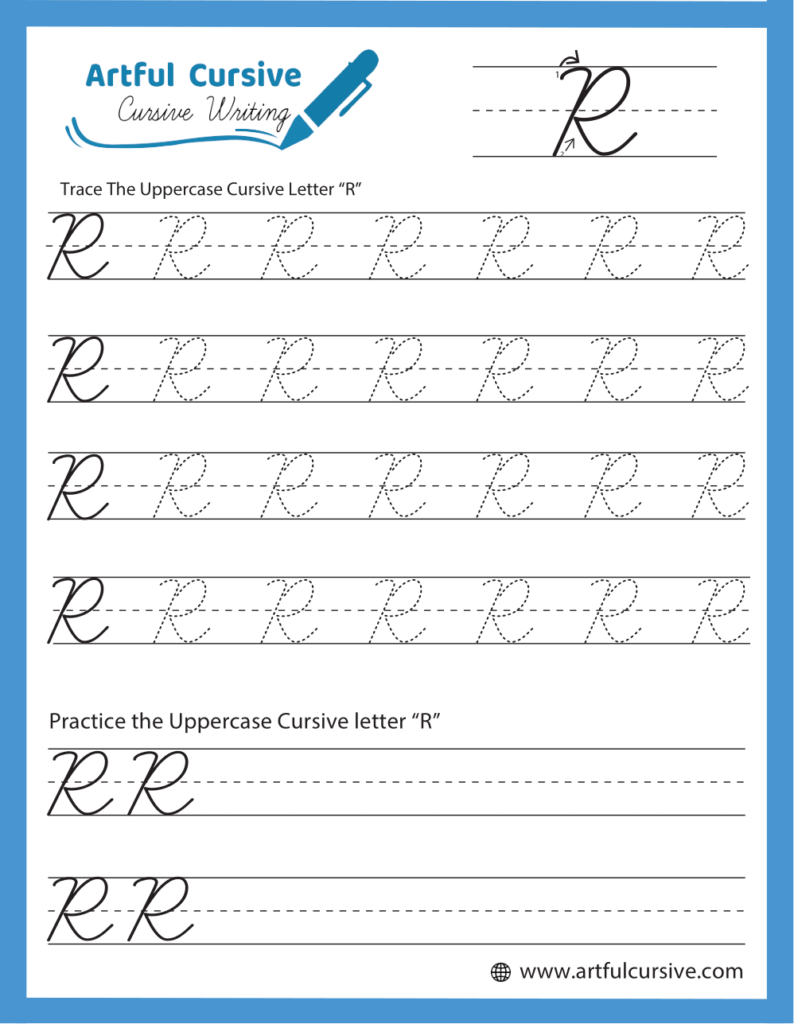
How to Write Uppercase Cursive R
Begin the uppercase cursive R with a vertical stroke that rises from the baseline to the top line. Once you reach the top, curve to the right and form a small loop. From there, draw a diagonal line slanting downward, keeping it smooth and even. The loop should be neat, and the diagonal stroke should angle sharply to the right, creating a balanced letter. Finish the letter with a slight curve that extends to the right, giving the “R” a fluid and graceful appearance.
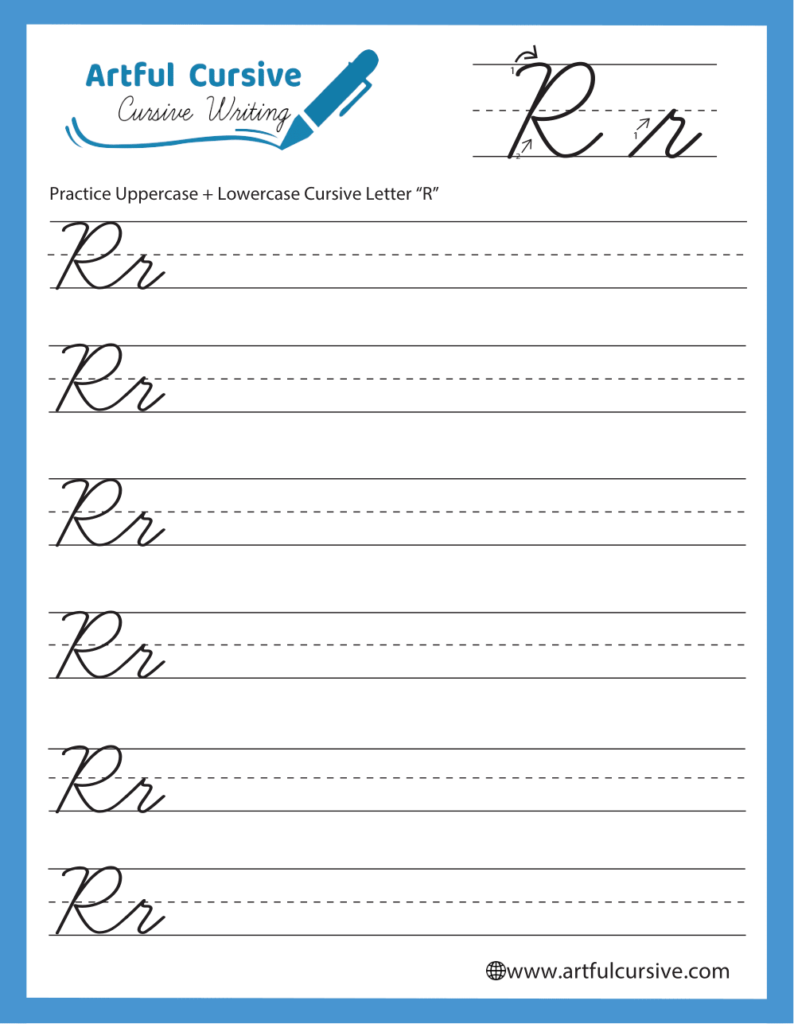
How to Connect Uppercase Cursive Letter R
To connect the uppercase cursive R, gently extend the diagonal stroke to the right. This extension will seamlessly link the “R” to the next letter. As you connect to vowels like “o” or “i,” ensure the tail of the “R” flows smoothly into the following character. A smooth connection will make your cursive writing appear continuous and elegant. Make sure each connection feels natural and effortless, allowing your cursive to stay neat and legible.
Practicing the Cursive R Worksheet
Start by tracing the letter r to get a feel for its shape. Once you feel confident, try writing r without tracing it.
Practice writing simple words like “red” or “right” and explore different ways to form “r.” Regular practice with the worksheet will help improve your cursive handwriting.
FAQs
Learning the cursive R improves your ability to write connected letters smoothly and enhances overall handwriting flow.
Start by tracing the letter “r” to get familiar with its shape. Once you feel confident, try writing it without tracing. Regular practice with words like “red” or “right” will improve your cursive handwriting.
The cursive “r” connects easily with letters like “e,” “i,” and “o.” Practice connecting “r” with these letters in words like “rose” and “rain” to build smooth transitions.
Use tracing exercises to learn the shape of “r.” Once you’re comfortable, practice writing it independently. Practice with words like “red,” “rain,” and “right” to improve your flow.
You can download a free printable cursive “r” worksheet from ArtfulCursive. It includes tracing and writing exercises to help you practice and improve your handwriting.


