Cursive Alphabet: Letter J Worksheet
Cursive J
Learning to write the cursive j adds a special touch to your handwriting. It is often used in words like “jam,” “jump,” and “joke,” making it an important letter to learn. This letter has a smooth curve and a long tail that connects beautifully to other letters. You can master each stroke to make your writing flow naturally. Practicing Cursive Alphabets regularly helps you feel confident in forming this graceful letter.
Previous Lesson: Cursive I
Download Free Printable Cursive j Worksheet
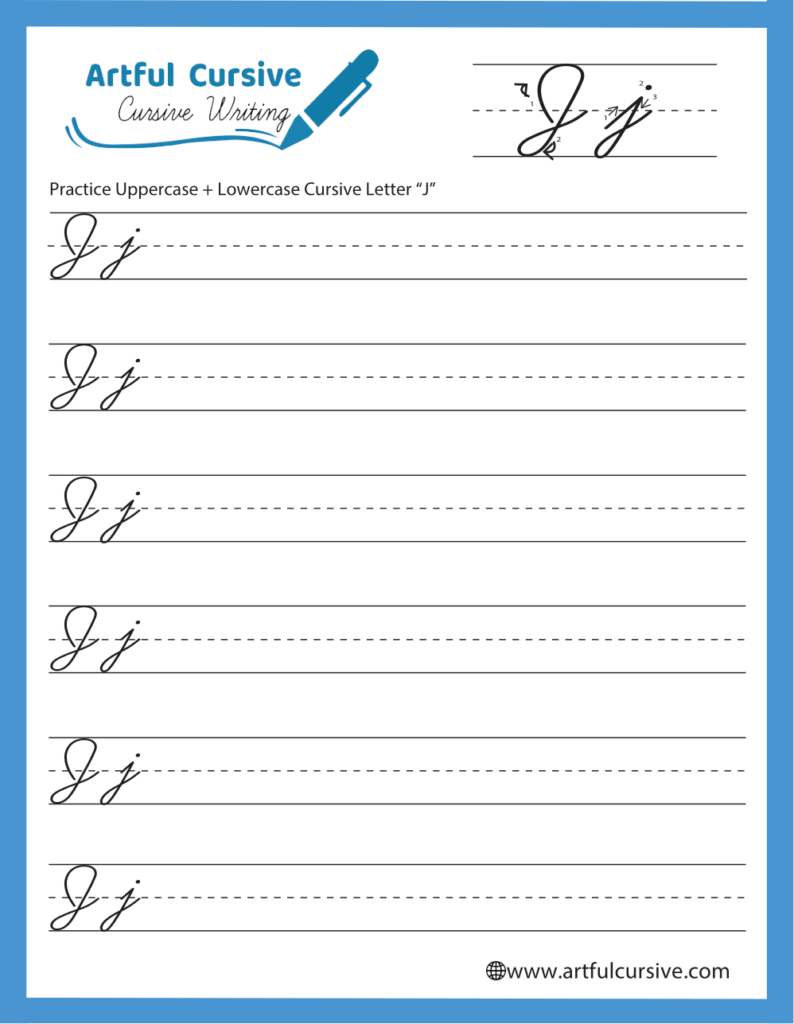
You can download a free cursive worksheet to help you practice the “j.” It includes tracing and freehand writing sections to improve your strokes and loops. Tracing helps you learn the shape while writing freehand builds muscle memory. Use this worksheet to gain confidence and perfect your handwriting skills.
Next Lesson: Cursive K
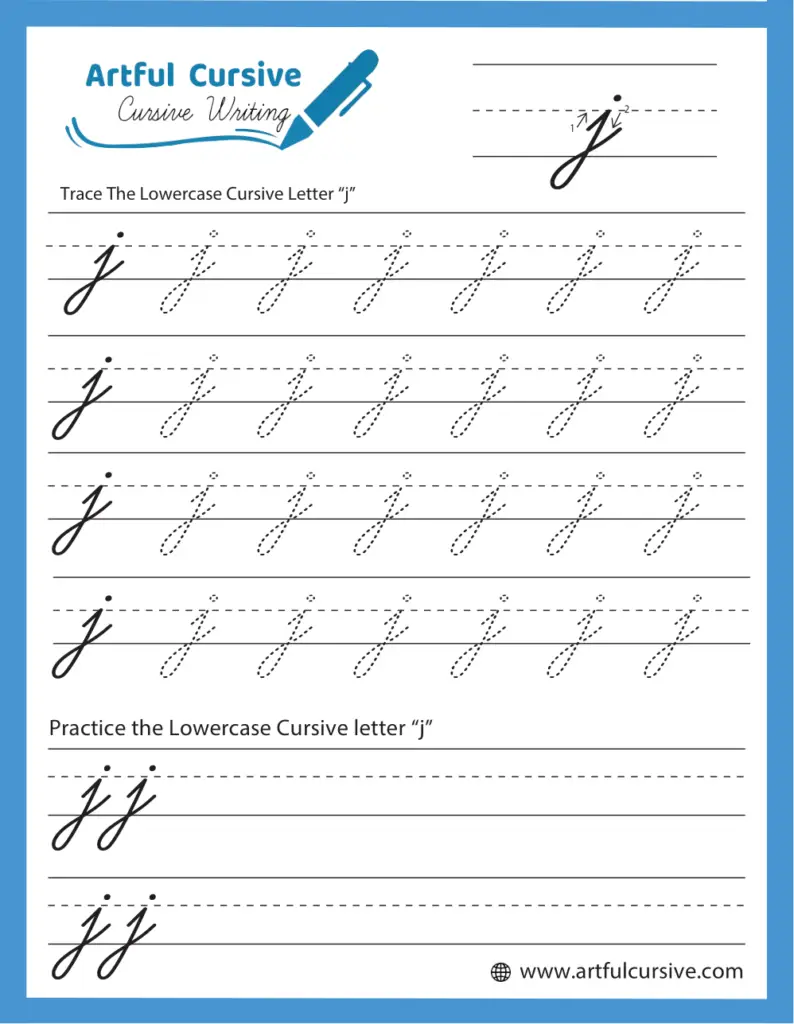
How to Write the Lowercase Cursive j
Start the cursive j at the baseline with a small upward curve. Loop it back down to create a long, smooth tail that dips below the baseline. End the letter with a neat dot above the middle line. Keep the strokes fluid and light for a natural look. Focus on the curve and ensure the loop stays balanced. Repeating this process makes forming the letter easier over time.
How to Connect the Lowercase Cursive j
The tail of the cursive j makes it easy to connect to other letters. After forming the tail, transition smoothly into the next letter. Keep the spacing even to maintain a natural flow in your writing. Practice connecting “j” with letters like “a,” “e,” and “o” to get a feel for smooth transitions. You will notice your connections becoming more automatic and consistent.
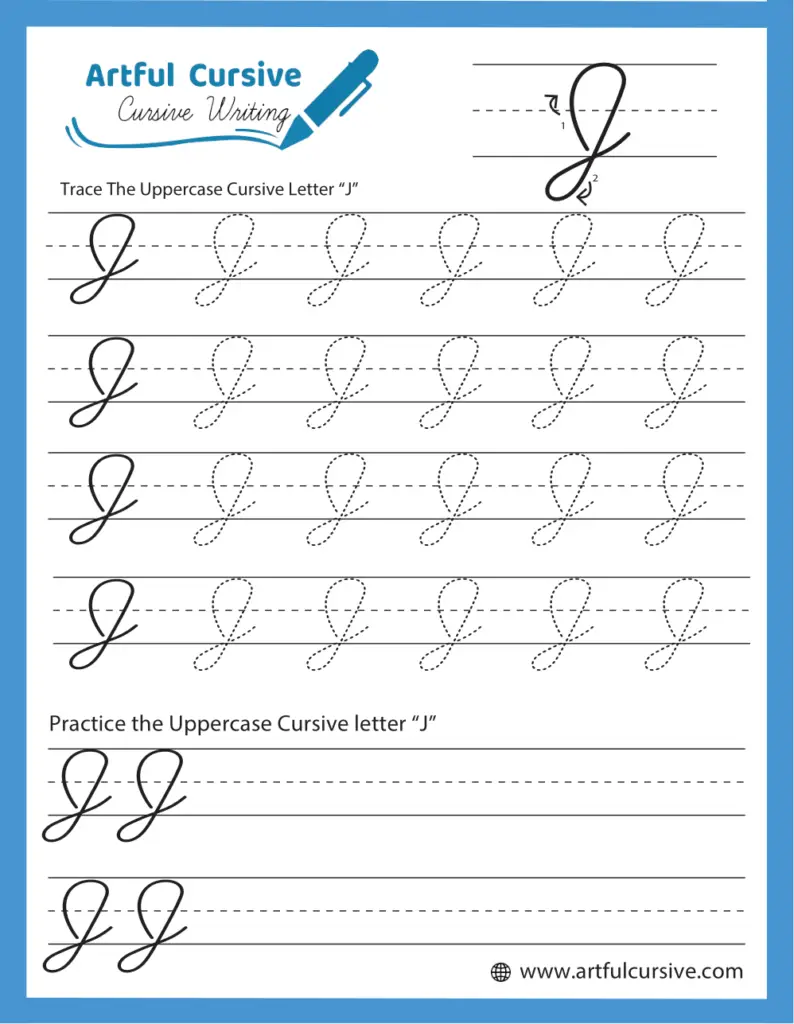
How to Write Uppercase Cursive J
Start by drawing a straight vertical line up to the top line. Curve the stroke down and around to form a large, sweeping loop at the bottom. Once you hit the baseline, extend a small, curved tail that loops outward to the right. The loop and tail should be smooth and flowing, ensuring an elegant finish.
How to Connect Uppercase Cursive Letter J
To connect cursive Capital J, let the tail naturally flow into the next letter. The bottom stroke should extend slightly to the right to help link smoothly to the following letter. Practice connecting with letters like “a” or “e” in words such as “Joy” or “Jump” to keep the transitions fluid and continuous.
Practicing the Cursive J Worksheet
Start the cursive j by tracing the letter to understand its shape and flow. Then, try writing it on your own also focusing on the loop and tail. Practice the upward curve first, then work on the tail and dot placement. Repetition is key to making the process feel natural.
The cursive j is important because it connects well with other letters like “i” and “l.” You can also experiment with the size of the loop and tail to add a personal touch to your cursive style.
FAQs
The cursive j has a distinct loop that dips below the baseline and ends with a neat dot above the middle line.
Use gentle strokes and practice regularly to keep the tail of the “j” smooth. It will help you make it flow naturally.
Learning the “j” improves your ability to write other looped letters like “g” and “y”. It makes your cursive handwriting more consistent.


