Cursive Alphabet: Letter I Worksheet
Cursive I
The cursive letter i is small, but it plays an important role in making your handwriting flow. It’s used in words like “ink,” “ice,” and “idea.” Writing the Cursive letter correctly helps your writing look neat and connected. This letter has a smooth shape that fits naturally into words. Practicing it can improve your speed and clarity. At ArtfulCursive, you can find simple ways to master letters like “i” and improve your cursive skills.
Previous Lesson: Cursive H
Download Free Printable Cursive i Worksheet
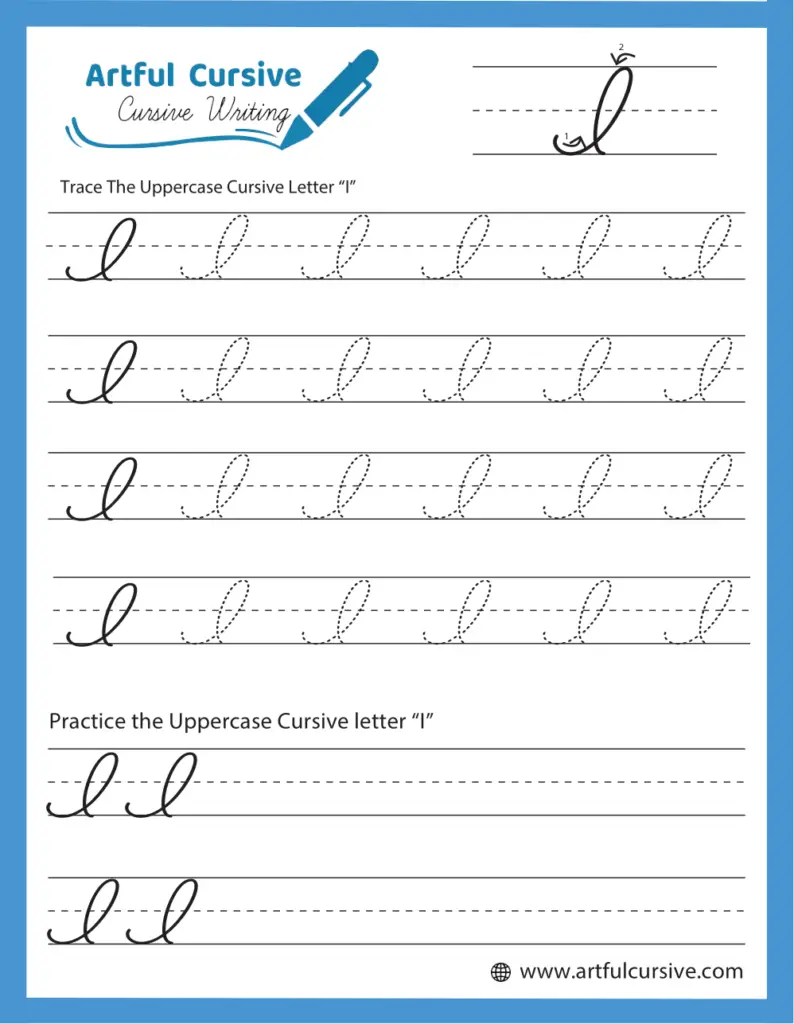
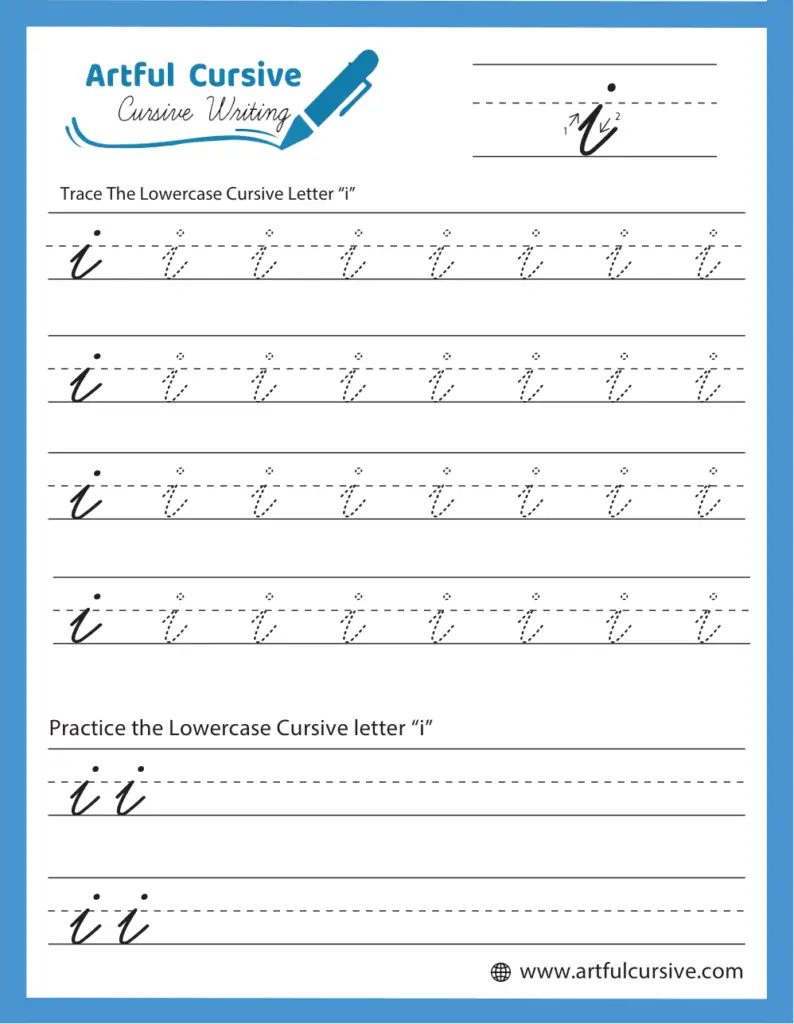
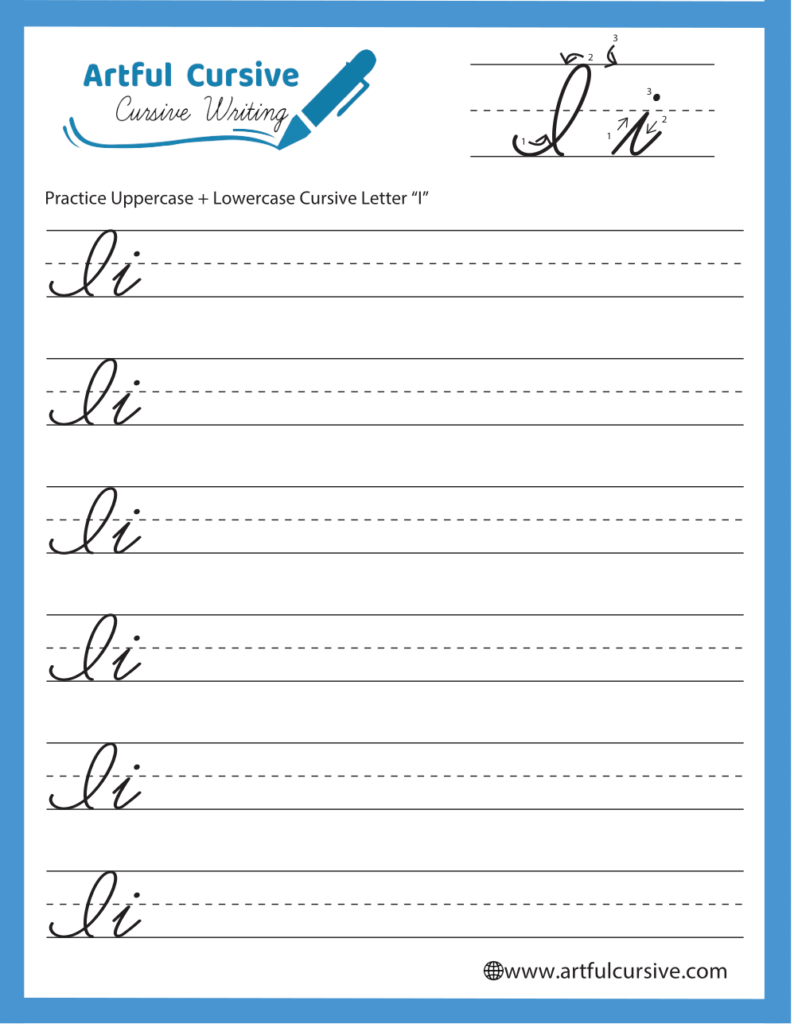
You can download a free Printable Cursive i Worksheet to practice the cursive i. The worksheet demonstrates the proper stroke formation step by step. Tracing the letters first helps you understand their shape and flow. Try writing the i without tracing to strengthen your skills.
Next Lesson: Cursive J
How to Write the Lowercase Cursive I
Start the cursive i at the baseline. Create a short upward stroke that curves gently to the right as it reaches the middle line. Bring it down in a smooth motion and then finish with a neat dot just above the middle line. Make sure the dot stays directly above the straight part of the letter.
Focus on keeping your strokes smooth and even. The curve at the top should be rounded, and the dot should remain small and balanced. Practice this process until it feels easy and natural.
How to Connect the Lowercase Cursive I
Connecting the cursive i is simple with regular practice. Start with an upward stroke, then add a gentle curve leading into a straight line. Finish with a small tail that links smoothly to the next letter. Give more attention to spacing and use light strokes for a natural look. Practicing consistently will make connecting letters feel automatic.
How to Write Uppercase Cursive I
Start the uppercase cursive I with a straight, upward stroke that reaches the top line. Next, add a small loop at the top by curving it slightly to the left. Bring the line straight down, and at the bottom, curve it outward to create a small tail. Keep the movements smooth and controlled for a refined look.
How to Connect Uppercase Cursive Letter I
When connecting the uppercase cursive I, extend the tail at the bottom to the right, making it easy to flow into the next letter. Practice linking it with vowels like “o” or “e” in words like “In” or “Ice.” Focus on creating a seamless connection between letters for fluid, continuous writing.
Practicing the Cursive I Worksheet
Start your practice by tracing the letter. Tracing shows you how to form the letter correctly. Next, try writing it freehand and focusing on strokes carefully. Repetition is key to building muscle memory. Practice until the movements become automatic.
If the letter feels difficult, break it into parts. First, practice the upward stroke. Then focus on the curve and dot. Once you master the parts, combine them to write the “i” smoothly.
Learning the cursive “i” also makes other letters easier to write. Many letters, like “l,” “t,” and “u,” use similar strokes. Mastering the “i” helps you improve your overall handwriting and connections between letters.
FAQs
The short strokes and tail allow it to transition smoothly to other letters without lifting the pen.
Use consistent strokes and avoid sharp angles. Practice regularly to improve the flow of your writing.
The letter starts with an upward stroke includes a rounded loop, and finishes with a dot above the middle line.


