Cursive Alphabet: Letter G Worksheet
Cursive G
The cursive g may look tricky initially in cursive writing, but learning it is important for better handwriting. It has unique loops and curves that stand out. Cursive writing helps you control your pen and connect letters smoothly. It also makes your writing look better and feel easier. Regular practice with the cursive “g” builds confidence.
Previous Lesson: Cursive F
Download the Free Printable Cursive g Worksheet
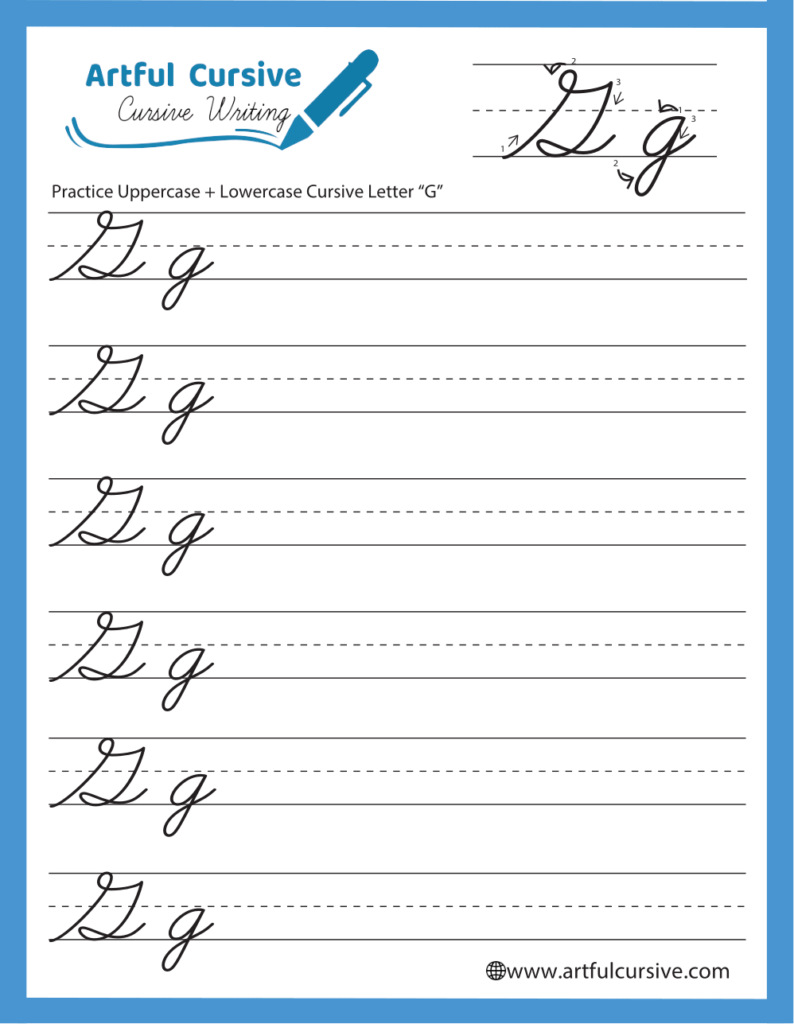
Download the free cursive worksheet for practice provides helpful guidance. It has sections to trace the letter and spaces for freehand writing. Tracing helps you learn the correct strokes and shapes. Freehand writing improves muscle memory and builds confidence. The worksheet makes it easier to practice and perfect the cursive alphabet.
Next Lesson: Cursive H
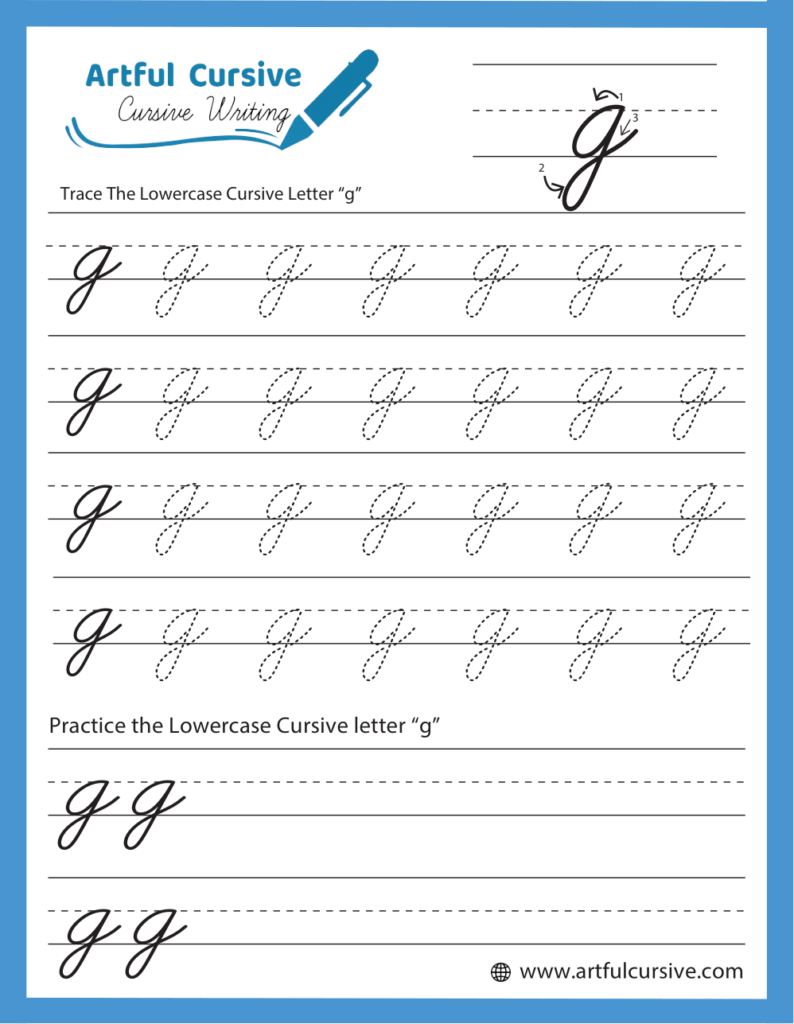
How to Write Cursive Letter G
Start at the baseline with a smooth upward stroke to form the top of the letter. Next, curve down and around, which creates a loop below the baseline. Ensure it aligns smoothly with the previous curve as you bring the stroke back up.
Add a small loop to the right to maintain balance and symmetry. End with a forward stroke that seamlessly connects the “g” to the next letter.
How to Connect lowercase cursive G
Connecting the cursive g is simple once you practice. Begin with its round loop at the top. Extend the tail below the baseline, curving it up to link with the next letter. Keep the strokes smooth and consistent in size. Practicing this will help your handwriting flow better. You will notice your connections become easier with time.
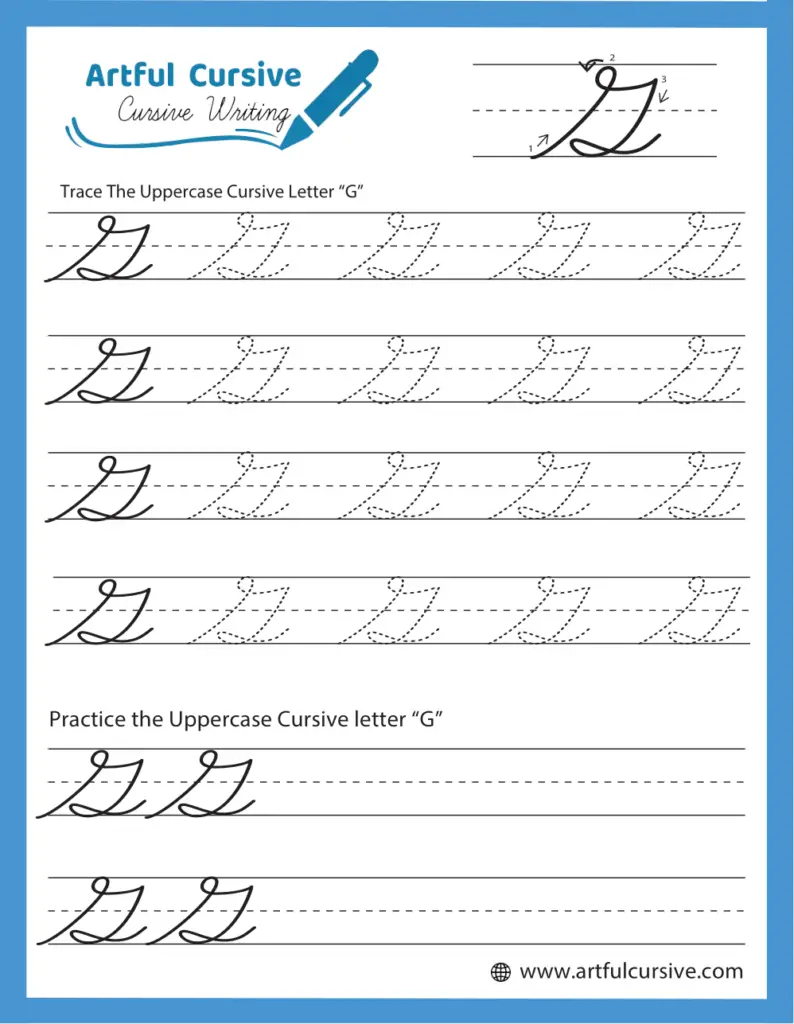
How to Write Uppercase Cursive G
Writing an uppercase cursive G begins with a tall upward stroke. From the top, curve to the right and bring the line down to form a large loop at the bottom. Continue the stroke upward, curving around to the right to create a smaller loop. End the letter with a small tail extending to the right. Keep the strokes fluid and smooth to maintain the elegant flow of the letter.
How to Connect Uppercase Cursive Letter G
To connect the uppercase cursive G, extend the final tail slightly to the right. This will help you link the “G” to the next letter. Practice connecting with vowels like “o” or “a” in words such as “Go” or “Glad.” Focus on keeping the flow continuous to ensure smooth and consistent transitions in your cursive writing.
Practicing the Cursive G Worksheet
Start your practice with the tracing section of the worksheet. Focus on each loop and stroke. It ensures the letter is neat and proportional. Writing slowly at this stage helps you understand the flow of the letter. Move on to writing the “g” independently when you feel confident.
Try writing the letter in different sizes to improve your control and adaptability. You can also practice connecting the “g” to other letters.
FAQs
Cursive Alphabets builds fine motor skills. It improves hand control and writing speed. It also makes handwriting unique.
You should start practice cursive worksheets. Guide them step by step. Show them how to form the loops.
It takes time to learn cursive g. It can be tricky at first but don’t give up. Practice every day to get better and build confidence.


