Cursive Alphabet: Letter "a" Worksheet
Cursive A
The letter “a” is the first in the cursive alphabet and serves as an essential starting point for learning cursive writing. Practicing “a” in cursive helps build familiarity with cursive letters, making it easier to progress to more complex handwriting. Mastering the cursive letter “a” lays a strong foundation for connecting letters in words and improves the flow of handwriting. Simple words such as “air,” “aim,” and “amazing” help learners understand the shape and connections of the letter “a” in cursive writing.
Download Free Printable Cursive A Worksheet
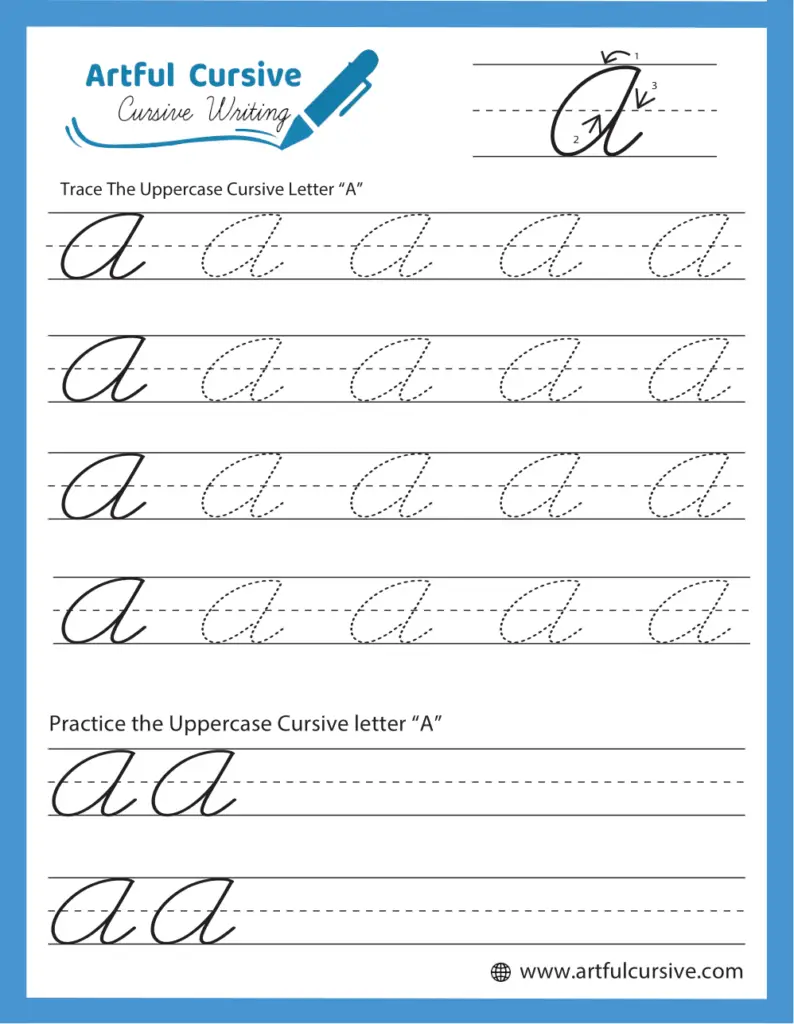
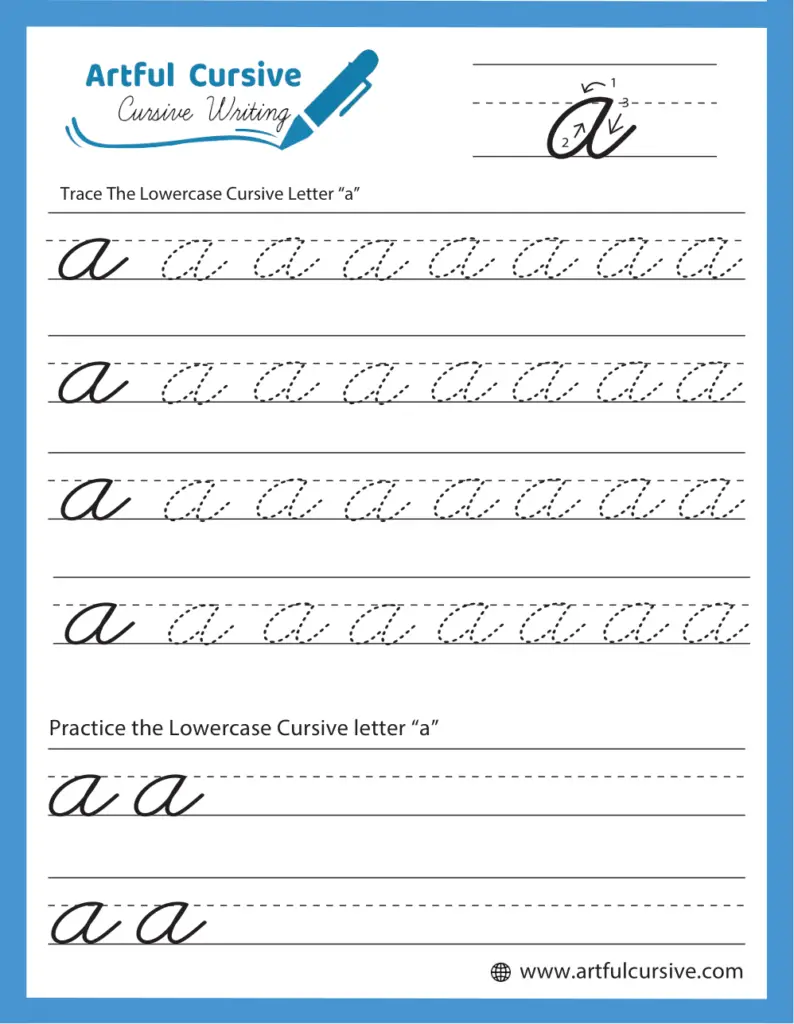
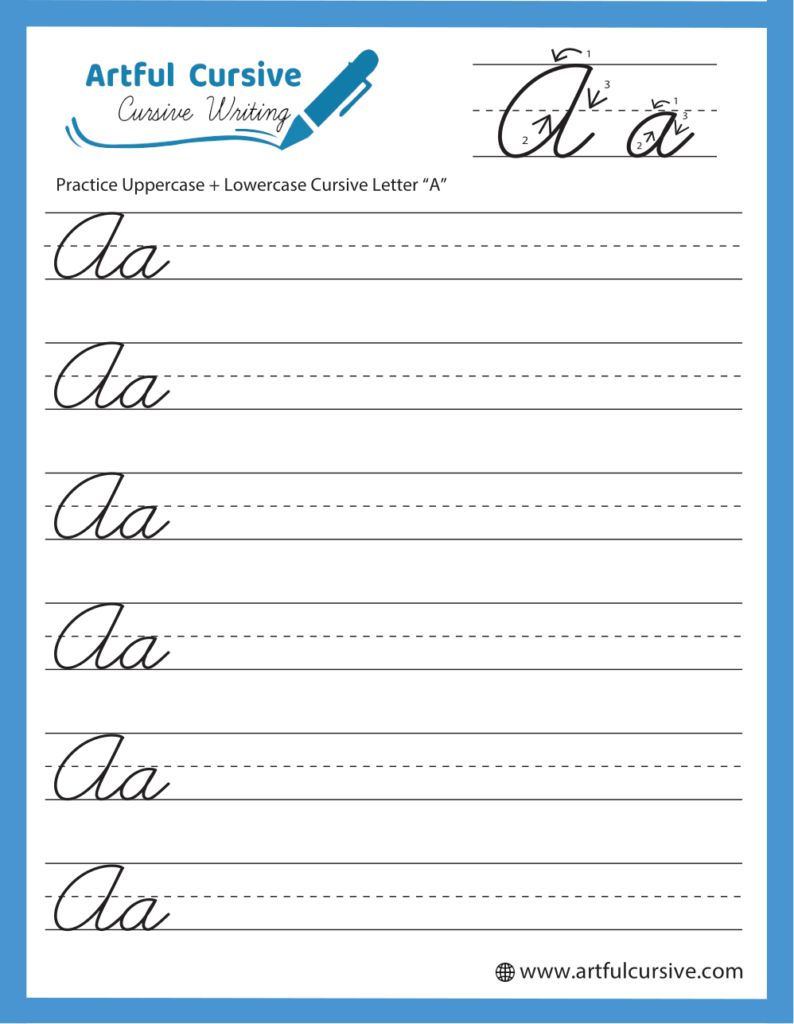
Our free printable worksheet is perfect for practicing how to write a cursive “a.” The worksheet includes tracing and writing exercises, guiding you through the correct strokes. Tracing shows how to form each part of the cursive letter “a”, helping learners master the letter’s flow with ease.
Next Lesson: Cursive B
How to Write Cursive A?
Learning how to write the letter “a” in cursive involves following a few basic steps. To write the lowercase letter “a” in cursive, begin with a short upward stroke from the baseline. Then, move into a rounded loop to form the body of the “a.” Complete the letter by adding a short tail to the right. This tail is designed to connect the cursive alphabet “a” seamlessly to the next letter, ensuring a smooth and fluid writing experience. With consistent practice, writing “a” in cursive writing becomes more natural over time.
How to Connect Lowercase Letter A in Cursive
Once you’ve mastered writing letter “a”, connecting it to other letters is simple. Start with the small upward stroke, followed by the rounded loop. The short tail at the end serves as the connection point for the next letter. Practicing these connections repeatedly enhances confidence and fluidity. You can also explore minor stylizations to personalize how you write the letter “a” in cursive writing while maintaining proper form.
How to Write Capital Cursive A
To write an “A” in cursive, begin by placing your pen just below the upper-middle line. Start with a small upward curve that reaches the top guideline, forming a loose “C” shape that leans to the right. From the top of this curve, bring your stroke smoothly downward in a straight line, curving slightly to the left as it reaches the baseline. Add a gentle loop at the bottom, and then complete the letter with a short horizontal crossbar in the middle. With steady practice, you’ll master the uppercase cursive alphabet “A” effortlessly.
How to Connect Uppercase Cursive Letter A
To connect the capital “A” in cursive writing, focus on smoothly transitioning to the next letter. After completing the uppercase letter “A” in cursive, end with an exit stroke from the bottom loop. Extend this stroke slightly upward and to the right, aligning it with the starting point of the following letter. Practicing connections between the cursive alphabet “A” and other letters ensures smooth handwriting flow and consistency.
Practicing the Cursive A Worksheet
When using the worksheet to practice writing “a”, begin with the tracing section to learn the proper strokes. Once you feel confident, proceed to writing the letter independently. Focus on maintaining the correct size and shape for each cursive letter “a”, taking your time to avoid rushing. Regular practice ensures the construction of the letter “a” in cursive writing becomes second nature, building a solid foundation for future handwriting.
FAQs
Start by guiding the child to trace the cursive “a” on worksheets. Show them the strokes and how letters connect. Tracing helps before trying it on their own.
Cursive improves skills, making handwriting smoother and faster. It also helps kids develop their writing style.
Mastering the letter “a” in cursive usually takes a few weeks of regular practice. Repetition helps children feel comfortable, and each practice session builds confidence.


